Using Flambient Lighting (Flash + Ambient) to Transform Interior Images
- Apr 17, 2025
- 2 min read
Updated: Apr 29
Hi, I’m Rachit Singhal, a photographer based in New Delhi, India. In this post, I’ll walk you through my workflow for an interior image I shot some time ago for a 3-star hotel, Lotus Paradise.
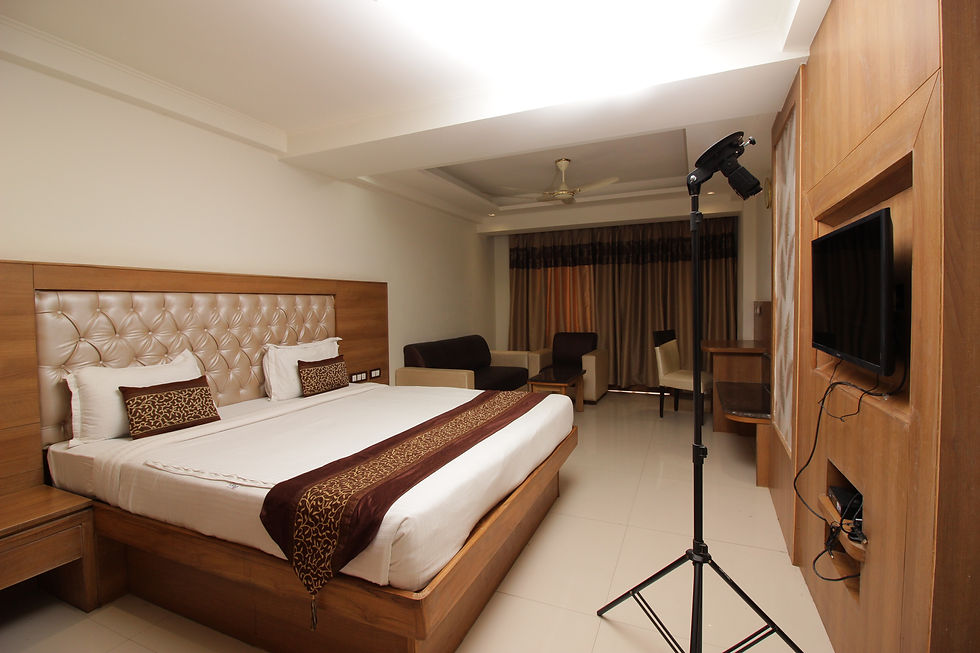
Let’s start with a single ambient exposure.

Here are a few issues that immediately stand out:
The image was shot during the day, and sunlight spilling through the curtains at the back creates uneven lighting.
The room lighting is inconsistent—most lights are tungsten-balanced, while one on the left is daylight-balanced, making white balance correction tricky.
Overall, the room lacks proper illumination, with visible color casts on the walls and inaccurate colors throughout.
For this shoot, I was using a Canon 600D paired with a 10–18mm lens, and all additional lighting was done using a single off-camera speedlite.
To capture the full dynamic range of the scene, I began by bracketing 7 ambient exposures, ranging from +3 EV to -3 EV.

After reviewing these images, it was clear that the harsh ceiling light wasn’t enhancing the scene. My goal was to create a softer, warmer light that would make the room feel more inviting and visually appealing.
To solve these problems, I introduced off-camera flash. There’s no fixed rule for how many exposures to take—I usually break the frame into sections and light each part individually.
For this image, I captured 4 flash exposures:
1st exposure – Lighting the bed area
2nd exposure – Lighting the front right section

3rd exposure – Illuminating the far left corner and sofa area

4th exposure – Lighting the far right side of the room

All flash shots were done using a bare speedlite bounced off the ceiling to create soft, directional light. I avoid on-camera flash or placing the light directly from the camera’s perspective, as that tends to flatten the image and removes the natural depth of the space.
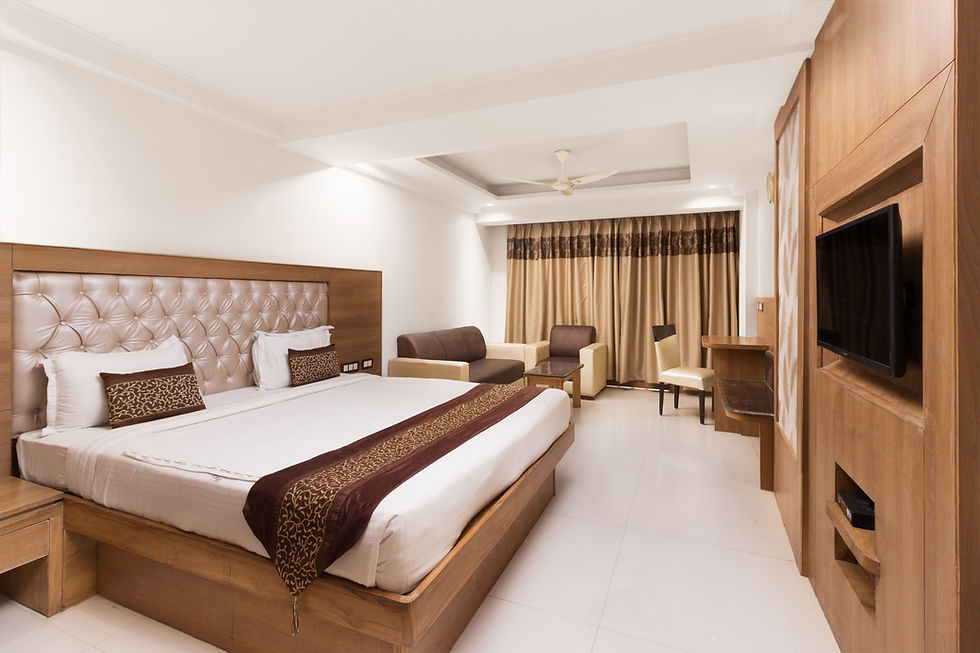
Once all exposures were captured, I brought everything into Photoshop and composited the final image. I combined the flash frames with a couple of ambient shots for the ceiling. The ceiling exposure was converted to black and white and then slightly warmed using a curves adjustment layer.
No pen tool was used, and the clone stamp was only applied minimally to remove some visible wires on the right side. The entire image was blended using layer masks with soft brushwork. The complete editing process took around 15–20 minutes.
Let me know what you think of this workflow, and feel free to share your thoughts or suggestions!


Comments